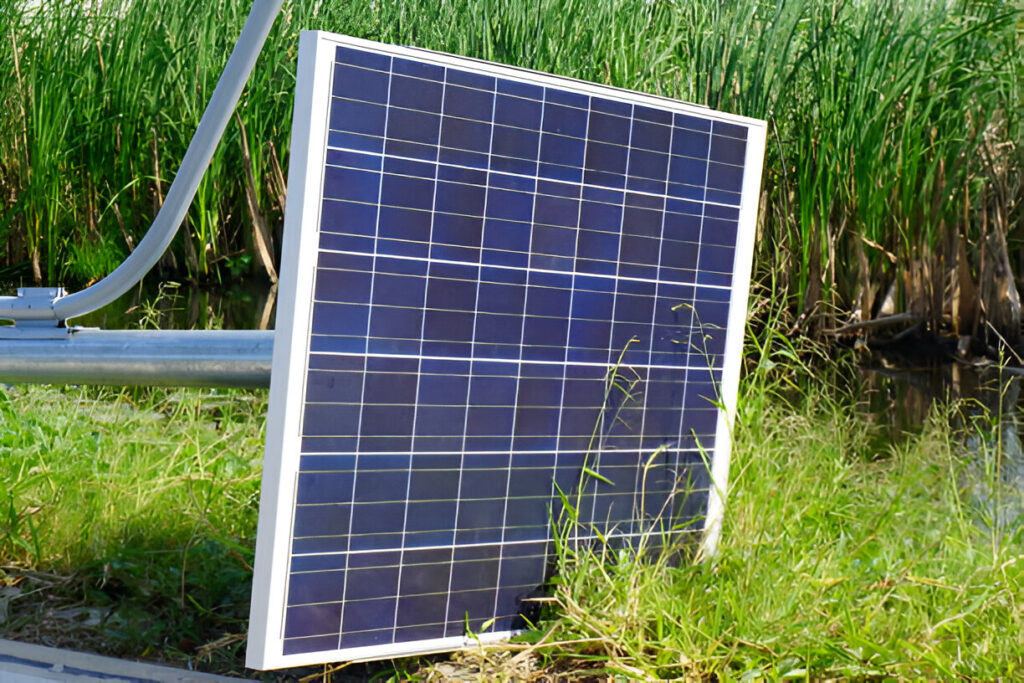
With the increasing push for sustainable energy solutions, ground solar mounting systems have become a popular choice for many. They offer flexibility, easier maintenance, and the potential for larger installations compared to rooftop systems.
This guide will help you understand the different types of ground solar mounting systems available and the step-by-step process for installation.
Types of Ground Solar Mounting Systems
Here are the main types of ground solar mounting systems you should know about. Each type offers distinct advantages depending on your specific needs and site conditions.
Fixed-Tilt Mounts
Fixed-tilt mounts are one of the simplest mounting options in ground solar systems. These mounts hold the solar panels at a fixed angle, which is usually set to maximize annual energy production based on the geographic location.
Because they don’t have moving parts, fixed-tilt mounts require less maintenance and are generally more affordable. This makes them an ideal choice for residential properties and small businesses looking for reliable and cost-effective mounting options.
Single-Axis Trackers
Single-axis trackers move the solar panels along one axis. By adjusting the angle, these trackers can capture more sunlight than fixed-tilt mounts.
As a result, single-axis trackers can increase energy production by up to 25%. They are a good choice for locations with plenty of open space. While they do require more maintenance, the boost in efficiency often outweighs the additional upkeep.
Installation Process
Here are the essential steps for installing a ground solar mounting system. Each step must be carefully followed to ensure a safe and effective installation process.
Site Assessment
A thorough site assessment is crucial for a successful ground solar mounting system installation. It involves evaluating the terrain, soil conditions, and sun exposure to determine the best spot for the solar panels. Professionals, like those professional solar technicians in Spokane, can conduct detailed surveys to ensure optimal placement.
They will also consider nearby obstructions that could cast shadows and affect performance. Proper site assessment helps in designing a system that maximizes efficiency and longevity.
System Design
System design is a critical step in installing a ground solar mounting system. It involves planning the layout and configuration of the panels to ensure optimal sun exposure.
The panel setup must be organized to avoid any shading issues and maximize energy production. Proper system design ensures efficient operation and long-term performance.
Installing Solar Panels
First, place the mounts in the ground. Make sure they are firmly in place. Use a level to check this. Next, attach the rails to the mounts. They hold the solar panels. After that, fix the solar panels to the rails. Tighten all the bolts. Connect the panels to each other.
Use cables for this. Then, link the panels to the inverter. The inverter changes solar power to usable power. Finally, test the system. Make sure everything works well. Remember, safety comes first.
Learn All About Ground Solar Mounting
To sum up, ground solar mounting systems are pretty handy. They help you get more solar power with less hassle. Each type has its own perks and works best in different spots. The right setup can give you a lot of energy and save you money.
So, it’s worth giving them a shot if you have the room. Always follow the steps to set them up right. And remember, more sun means more power, so pick a sunny spot.
Visit our blog for more!

