Key Takeaways
- Stipple ceiling removal can significantly modernize and brighten a home’s interior.
- Understanding the potential challenges of stipple ceiling repair is crucial before starting the project.
- The appropriate equipment and preparation are crucial for a successful stipple ceiling removal.
- There are professional services available for homeowners who prefer not to tackle this DIY project.
- Safety measures, such as checking for asbestos, should be a priority when dealing with older homes.
The Appeal of Stipple Ceiling Removal
Stipple ceilings, also known as popcorn ceilings, were once a popular choice for homes built in the mid-to-late 20th century. However, these textured ceilings have gradually fallen out of favor as modern home decor trends emphasize smooth and sleek ceilings. Removing stipple ceilings can transform your home’s interior, enhancing natural light, creating a more contemporary aesthetic, and potentially increasing property value. According to a source, many homeowners feel that this change significantly refreshes their living spaces. If you are considering tackling this project, you might find that enlisting quality ceiling repair services can provide professional expertise and ensure a flawless finish.
Common Challenges with Stipple Ceilings
While stipple ceilings provided a quick and cost-effective solution to cover imperfections during their heyday, they pose several challenges today. Over time, stipple ceilings can start to flake or crack, creating an unsightly mess. More seriously, homes built before the 1980s may have stipple ceilings that contain asbestos, a hazardous material that requires careful handling and professional removal. You can be more prepared for the project if you are aware of these difficulties from the beginning. Before diving into the removal process, it’s wise to learn more about potential issues and consider consulting a professional if necessary.
Preparation Tips for Stipple Ceiling Removal
Proper preparation is essential for a successful stipple ceiling removal project. To begin, place plastic sheeting or drop cloths to shield your floors and furniture from dust and debris. This step will save time on cleanup later. Wearing a mask and safety goggles is crucial to prevent inhaling dust particles and protect your eyes. If your home was built before the 1980s, it’s important to test for asbestos before proceeding. Asbestos test kits are available, but for peace of mind, hiring a professional to conduct the analysis can be more reliable. Gather necessary tools, such as wide-blade scrapers for removing the stipple, spray bottles to dampen the ceiling material, and a drywall sander to smooth the surface afterward. If you’re unsure about tackling this project yourself, consulting a suspended ceiling company can provide expert assistance. Having the right tools on hand will make the process more efficient.
Step-by-Step Guide to Removing Stipple Ceilings
Removing stipple ceilings involves several steps that require attention to detail and patience. Here’s a comprehensive guide:
- Start by lightly spraying a small section of the ceiling with water to dampen the stipple material. This makes it easier to scrape off without creating excessive dust.
- Use a wide-blade scraper to gently remove the damp stipple. Use a shallow angle when holding the scraper to prevent harming the drywall underneath.
- Work in small sections, progressing systematically across the ceiling. Reapply water as needed to keep the material damp and make it easier to remove.
- Once the entire ceiling is cleared of the stipple, use a drywall sander to smooth the surface. This step ensures that any remaining texture is eliminated, providing a clean slate for priming and painting.
- After sanding, apply a primer to the ceiling to prepare it for painting. Choose a high-quality primer to ensure good adhesion and coverage.
When to Call a Professional
Not every homeowner feels comfortable handling stipple ceiling removal on their own, and that’s perfectly fine. Employing experts can guarantee that the work is completed to a high degree, securely, and effectively. If you think asbestos is present in your home and it was built before the 1980s, this is very essential. Professional services can handle asbestos removal safely and in compliance with regulations. Moreover, experts are equipped with the necessary tools and skills to achieve a smooth finish, saving you time and effort. If you find the project daunting, professional quality ceiling repair services can provide peace of mind and a beautiful result.
Safety First: Checking for Asbestos
Safety should always be a top priority when renovating older homes, especially when it comes to potential asbestos exposure. When inhaled, asbestos, a dangerous substance that was previously widely employed in construction, can have detrimental effects on health. If your home was built before the 1980s, it’s crucial to check for asbestos before starting any ceiling renovation. Asbestos testing kits are available for purchase, but consider hiring a professional to ensure an accurate assessment. If asbestos is detected, it’s best to consult a professional asbestos abatement service to handle removal safely and legally. Taking these precautions will protect your health and ensure the project complies with safety regulations.
Final Touches: Painting Your Refreshed Ceiling
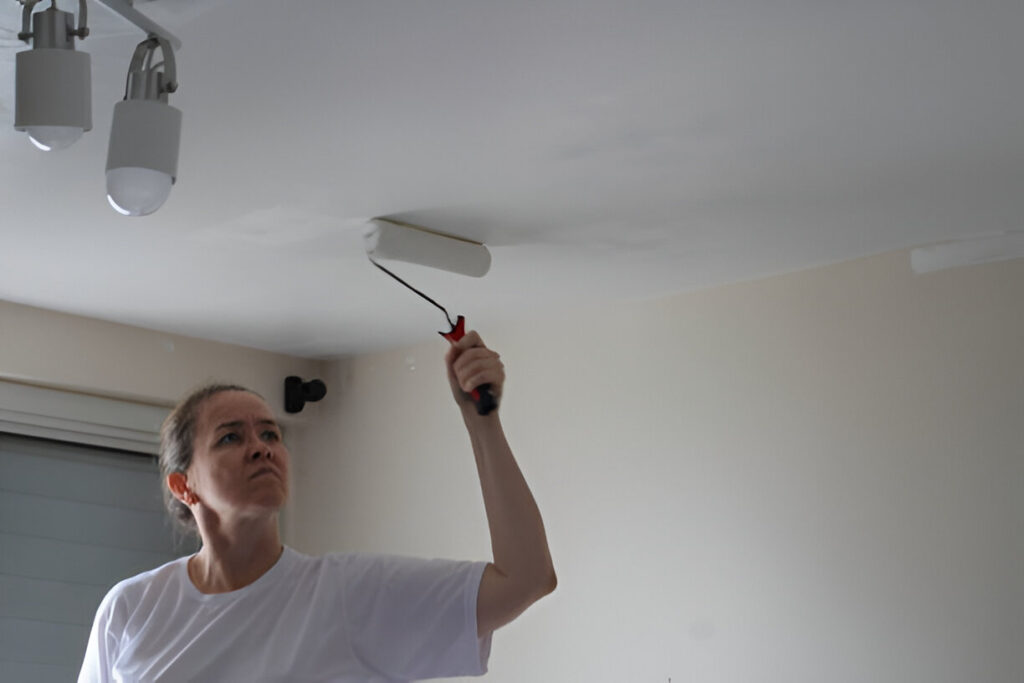
Once the stipple is removed and the ceiling surface is smooth, applying a fresh coat of paint will complete your project. Choose a high-quality primer designed for ceilings to ensure good coverage and adhesion. After the primer is dry, apply your chosen paint color. Bright white or subtle off-white shades can enhance the modern feel of your space and improve light reflection, making your rooms appear larger and brighter. Don’t rush this final step; a well-painted ceiling can significantly enhance your home’s overall look, leaving you with a refreshed and contemporary living environment.

